Add a Lead
1
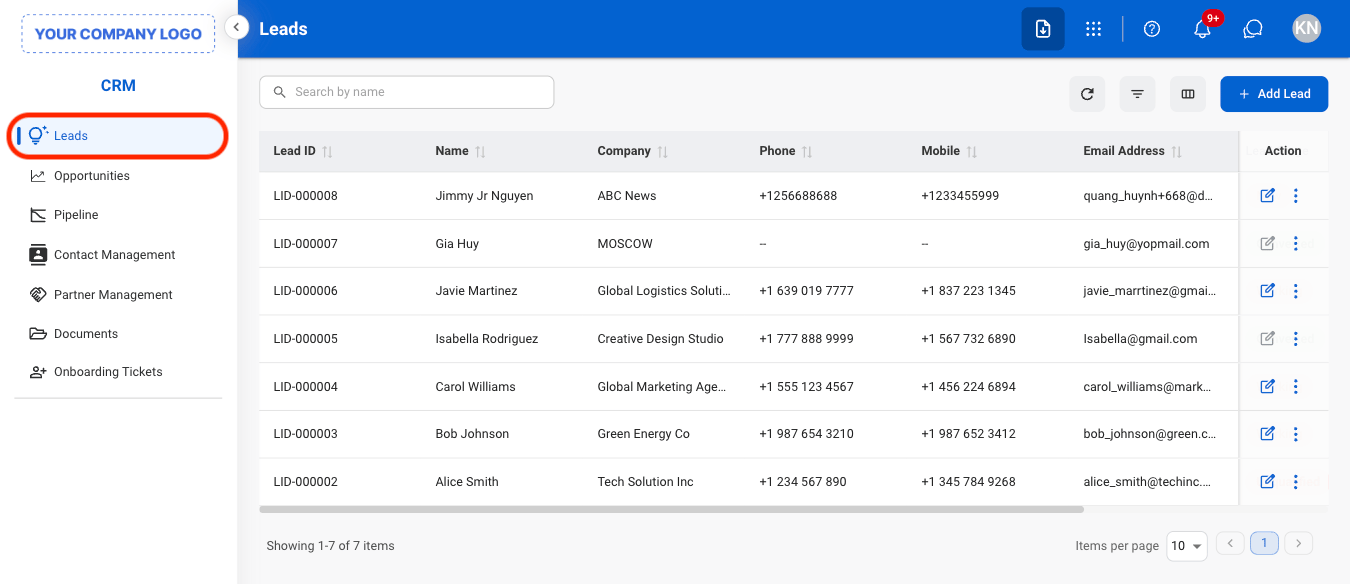
Navigate to Leads
2
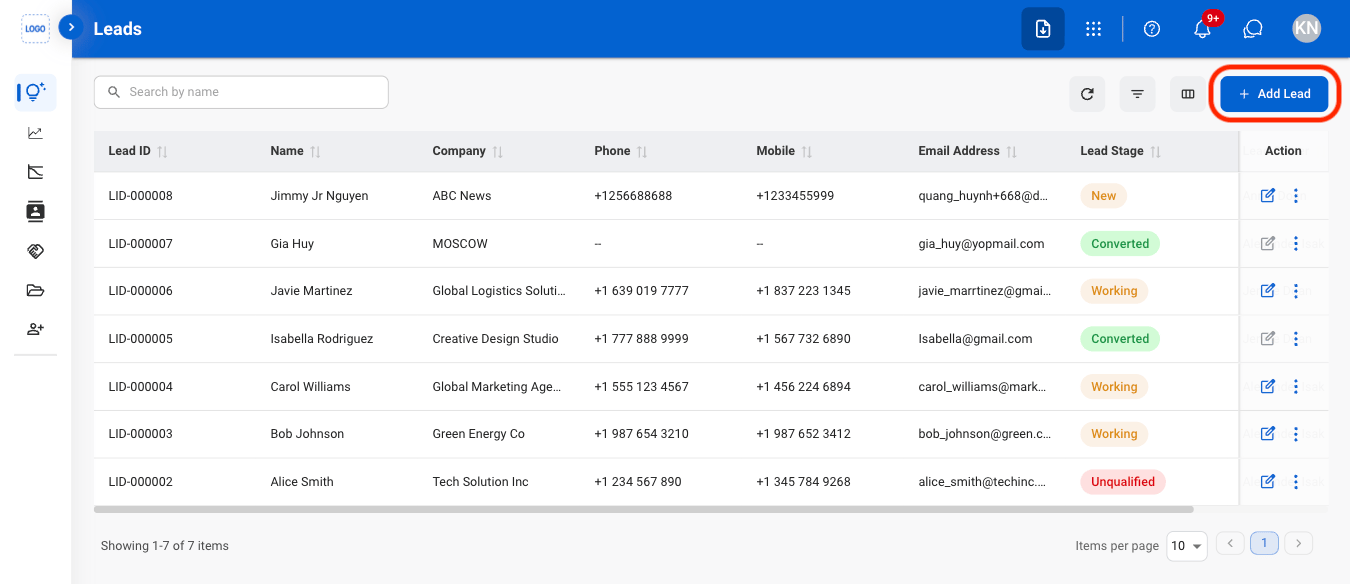
Select Add Lead
3
Fill in the required information
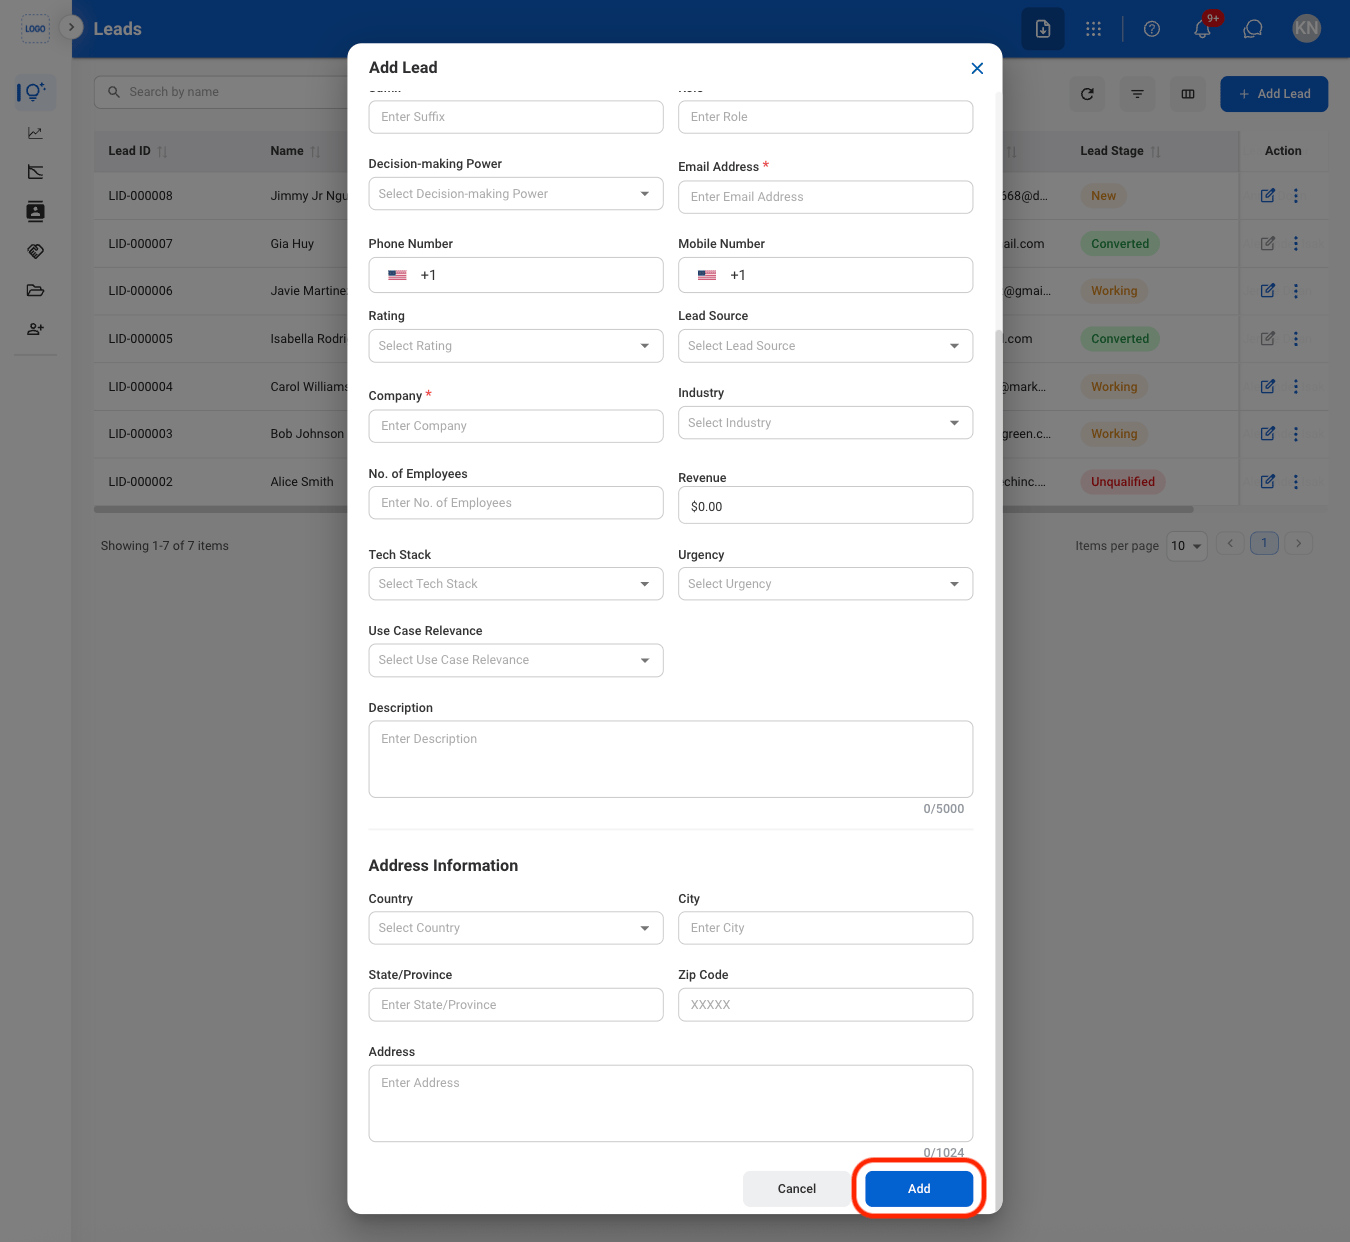
If a duplicate entry is detected, the system will ask for confirmation to continue before creating a new entry.
When a lead is added, a corresponding contact is automatically created in the Contact Management section.
Modify a Lead
1
Select an action
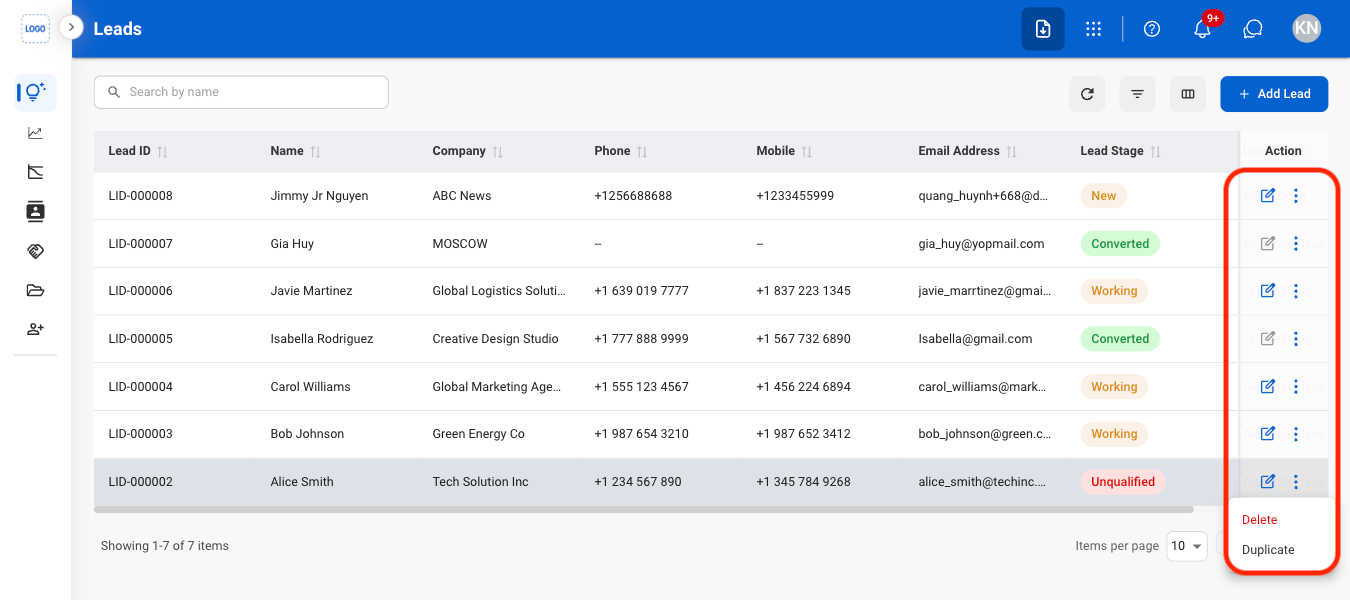
Only leads that have not been converted to opportunities can be edited or deleted.
- Edit: Update lead information before it is converted to an opportunity.
- Delete: Permanently remove the lead from the system.
- Duplicate: Create a copy of the lead to use as the basis for a new lead record.
2
Confirm the action
- Edit: Fill in the required information. Select Update to complete or Cancel to exit without saving changes.
- Delete: Select Delete to complete or Cancel to exit without saving changes.
- Duplicate: Fill in the required information. Select Save to complete or Cancel to exit without saving changes.
Add a Note
1
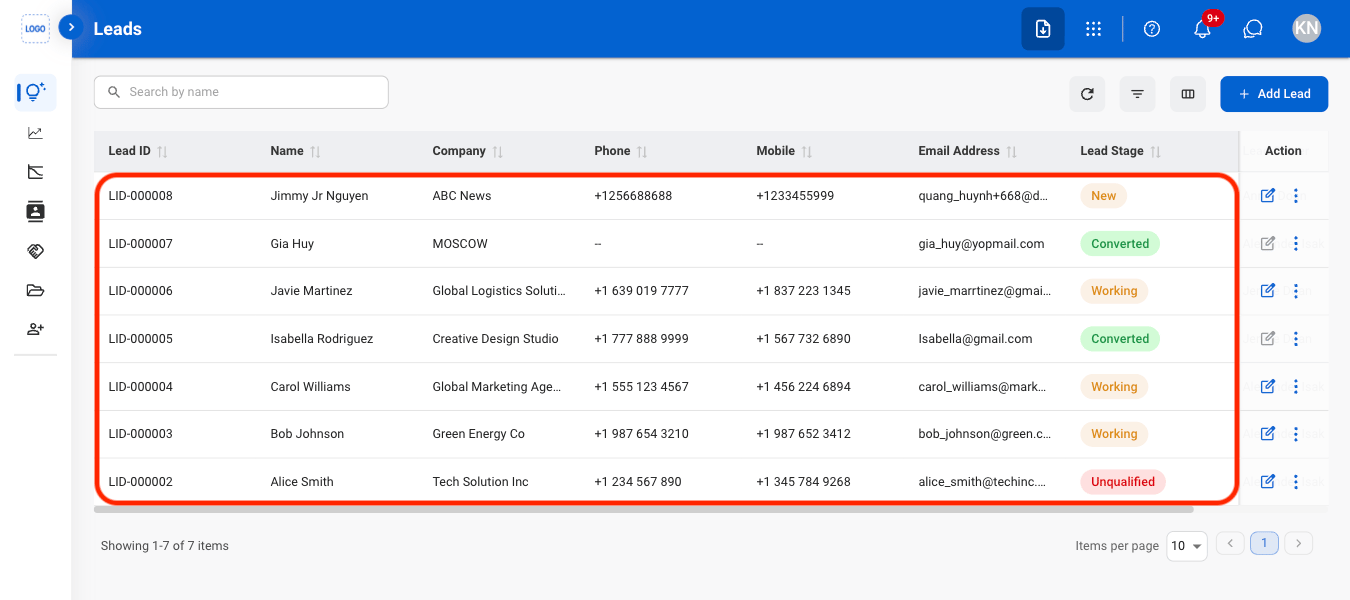
Select a Lead
2
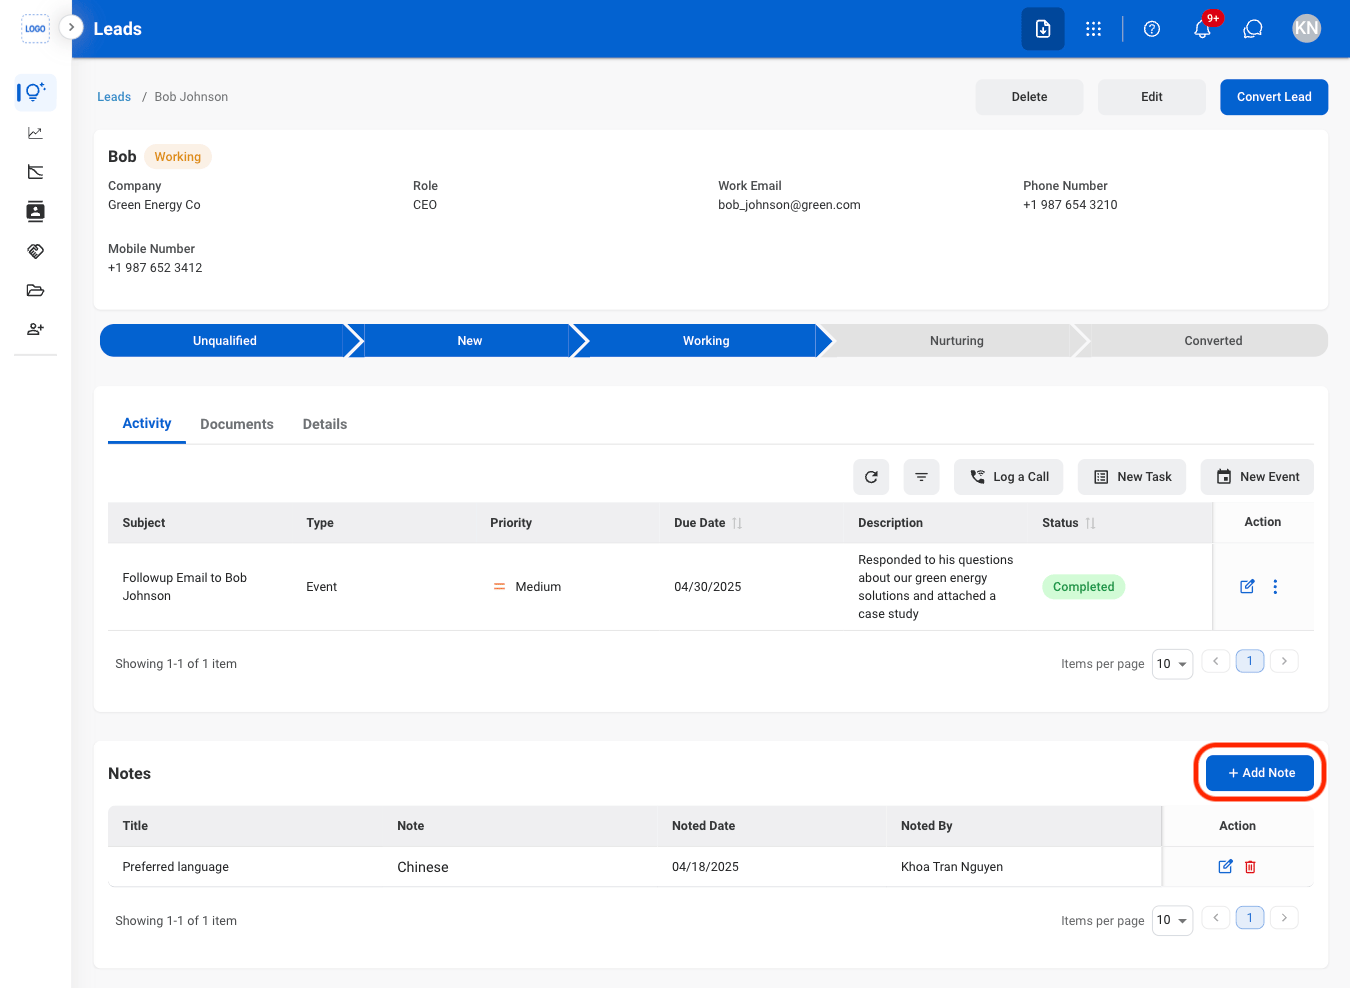
Select Add Note
3
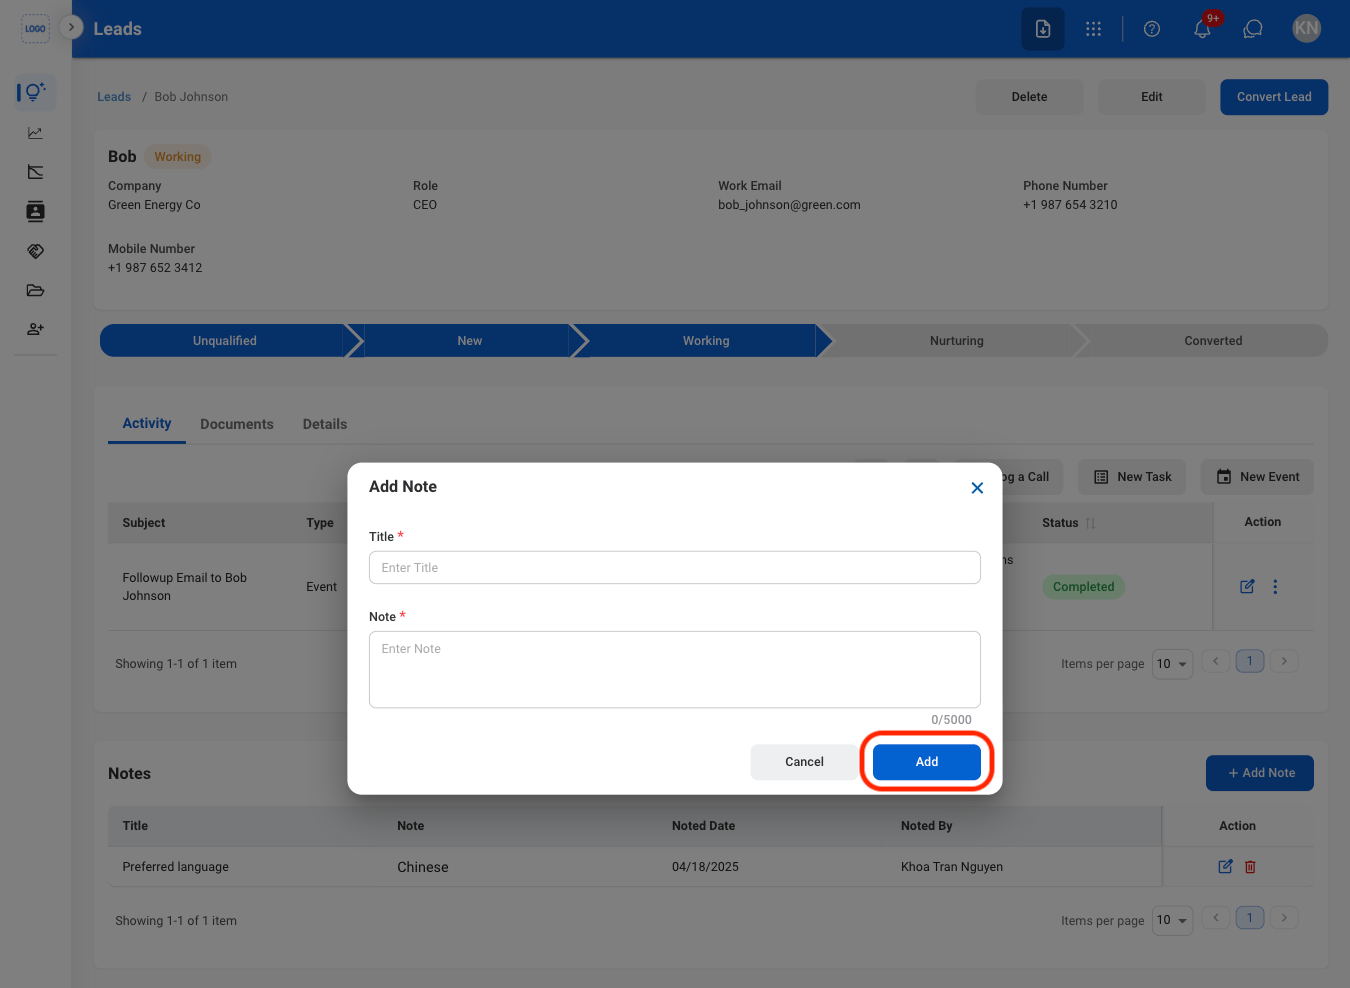
Fill in the required information
Add a Document
1
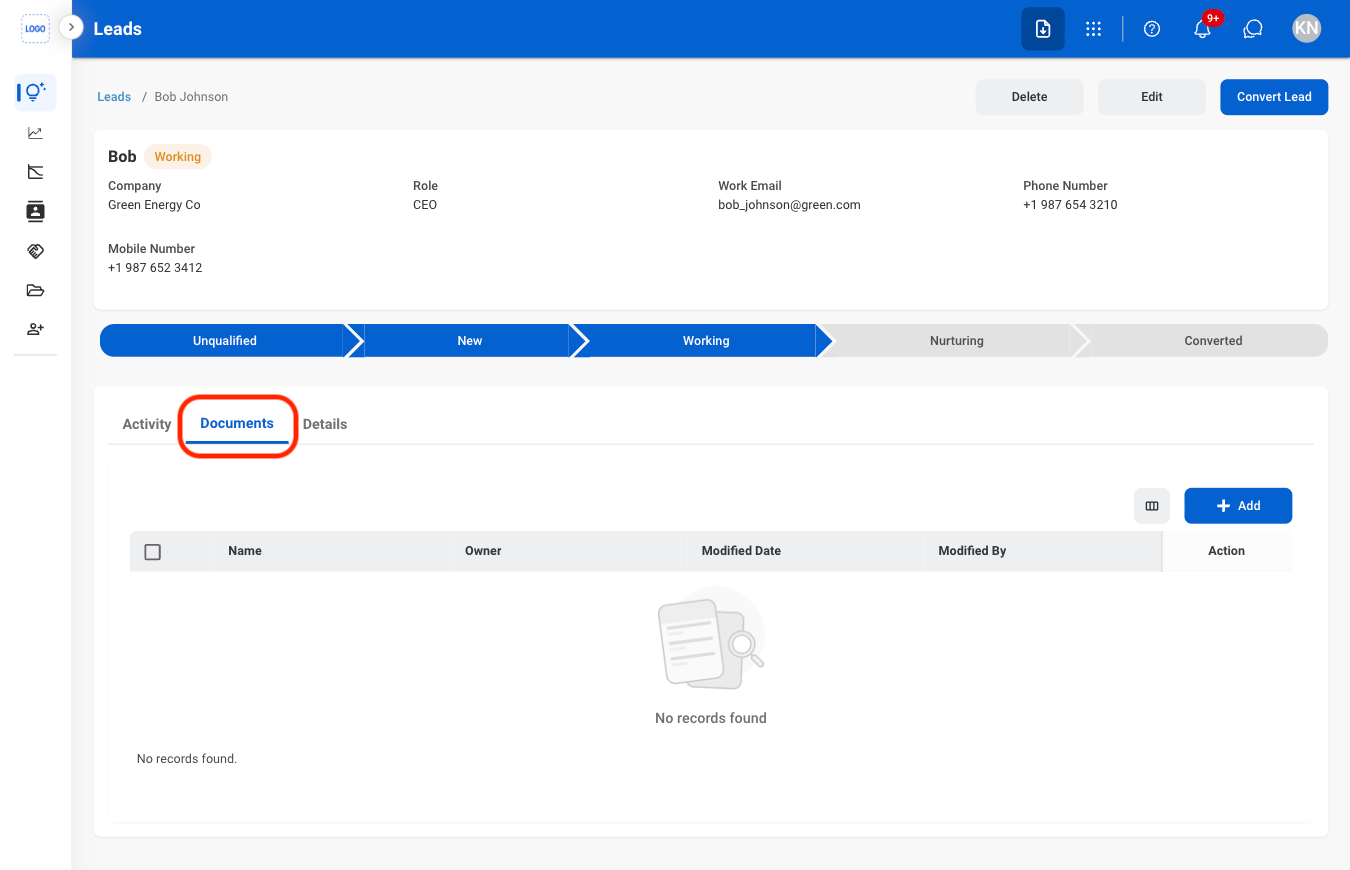
Select the Documents tab
2
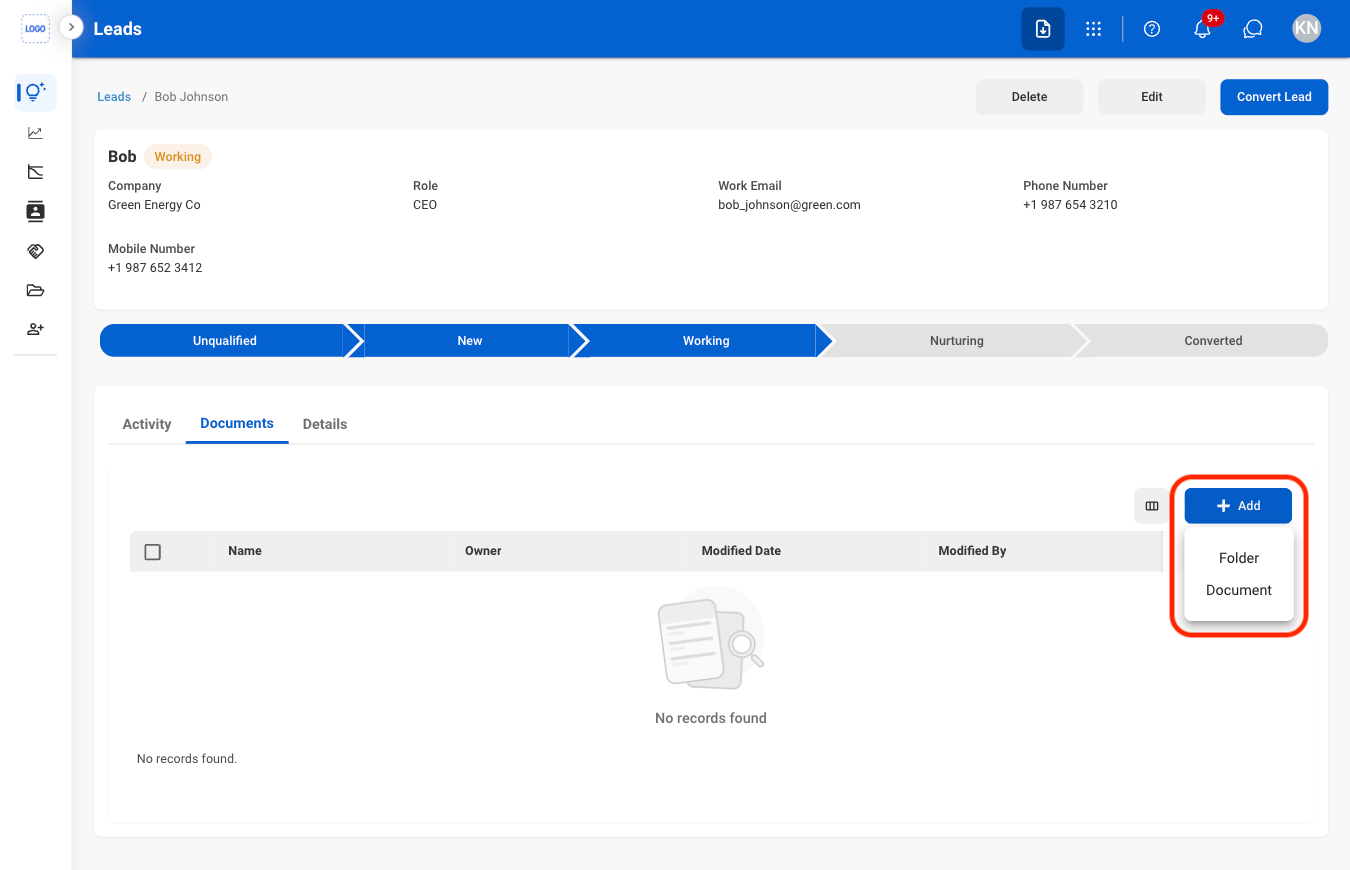
Select Add

3
Select Folder or Document
4
Fill in the required information
Select Save to complete or Cancel to exit without saving changes.
Change a Lead Stage
1
Select a lead stage

2
Confirm the action

Convert a Lead
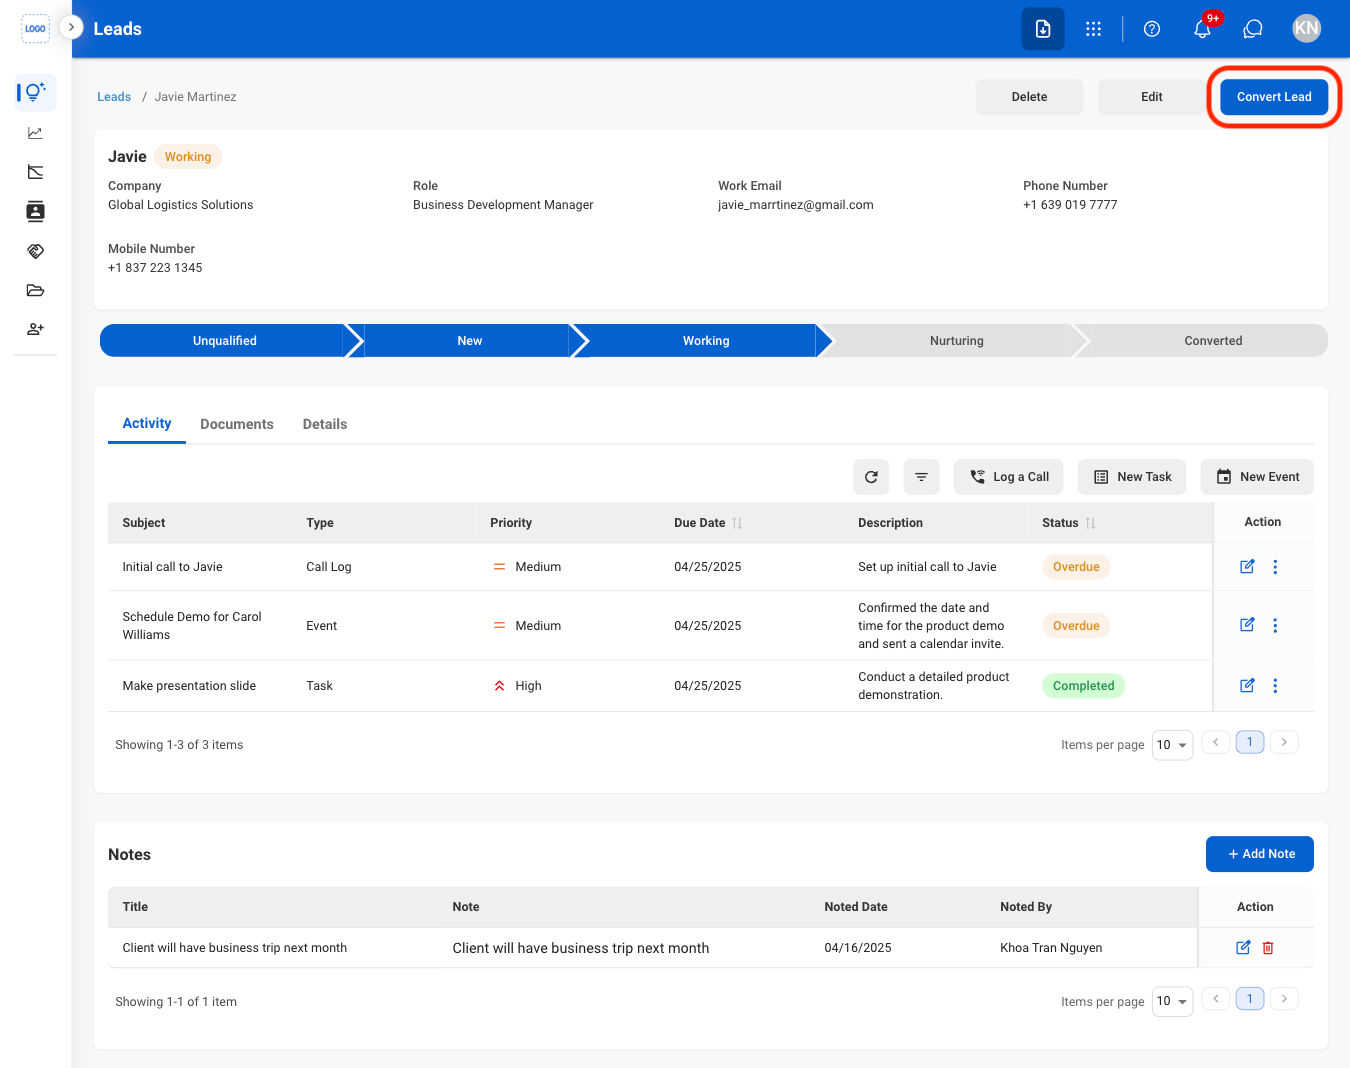
Convert qualified leads into business opportunities. Converting a lead creates a corresponding opportunity record in the Opportunities section while marking the original lead as converted.1
Select Convert Lead
2
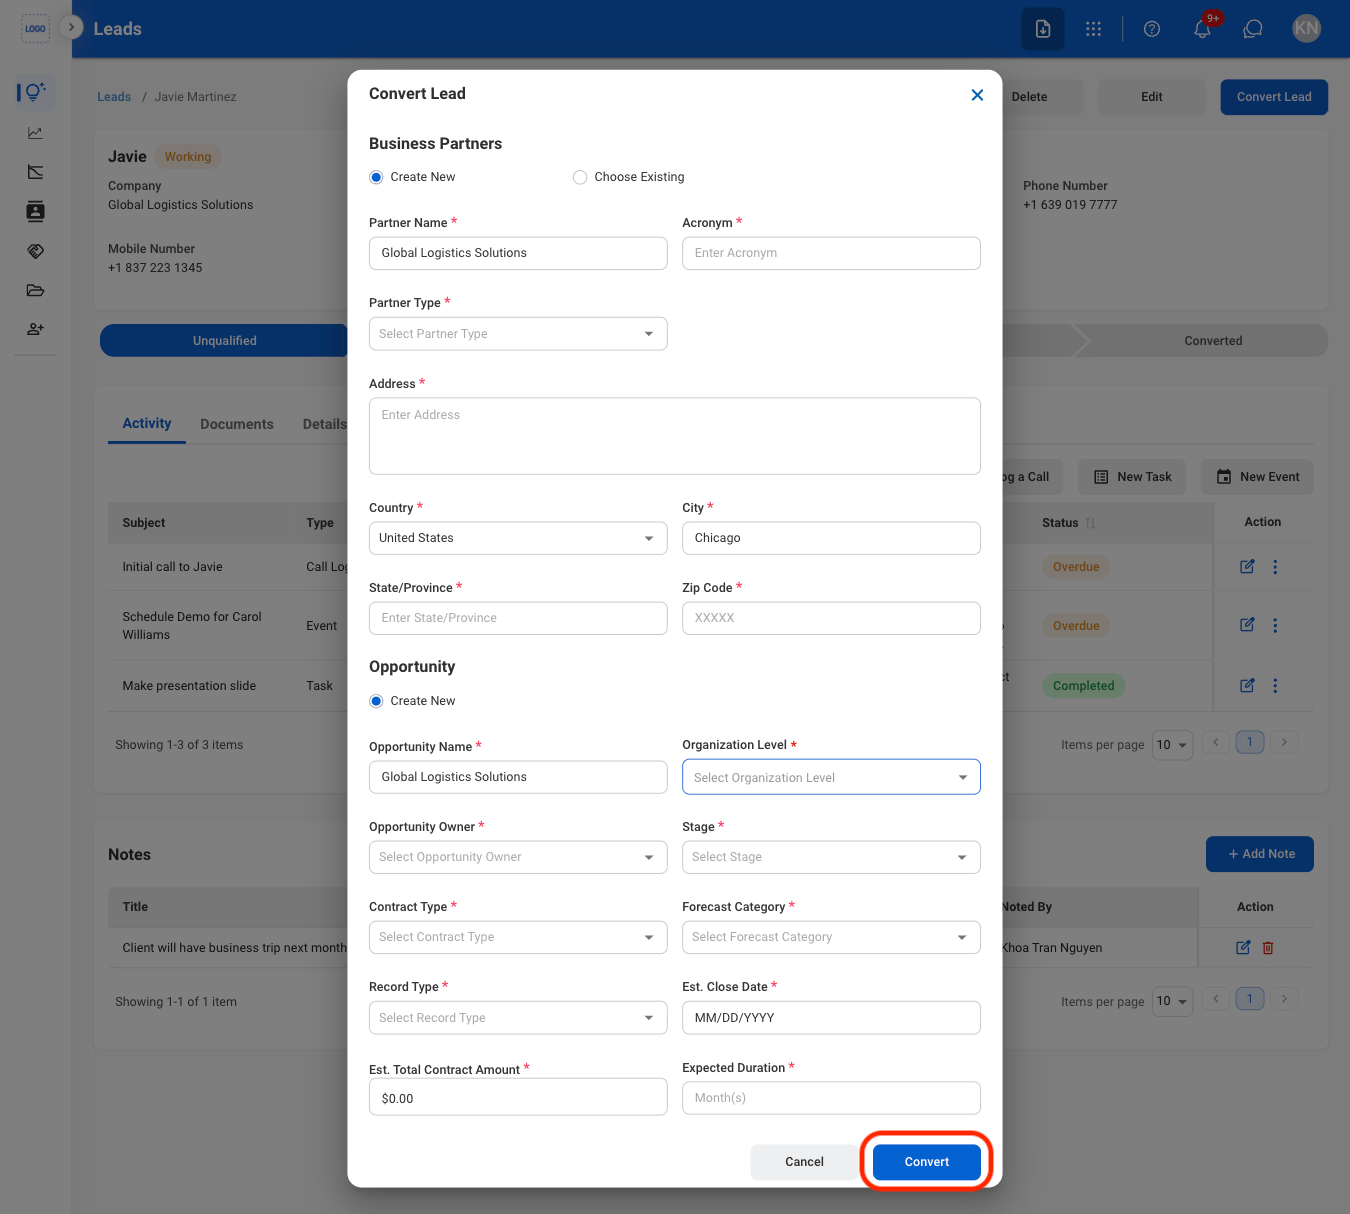
Fill in the required information